Refer below link for kvm installation:-
For kvm installation the most important thing is to setup correct partitioning scheme which is describe as below,
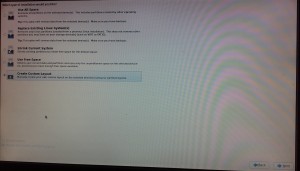
Always select the custom layout for creating partition.
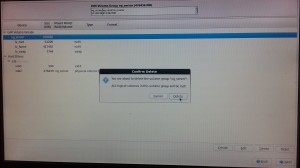
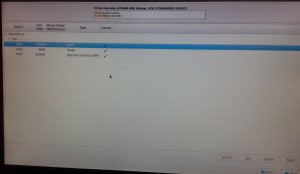
Delete all existing data on the hard disk.
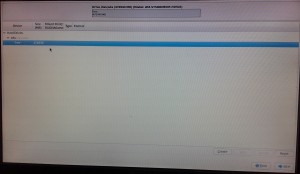
After deletion the windows will look like this.
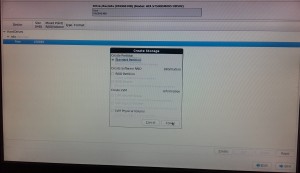
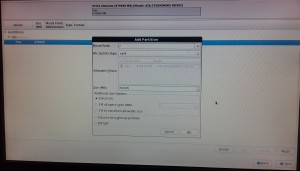
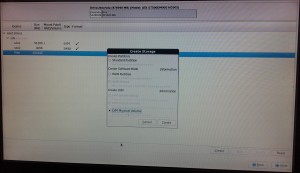
Select the Standard partition
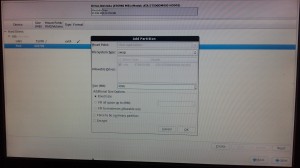
Select the / partition of 80-100gb as mention in the kvm installation link.
Swap partition of 4gb
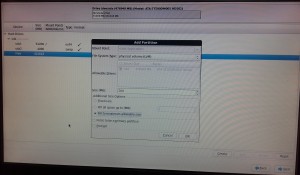
And most important is to create partition for LVM, click on LVM physical volume
Click on “Fill upto maximum allowable size” which will use for VPS space
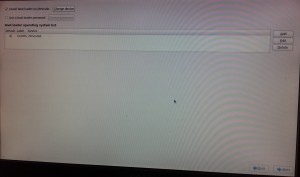
After this your partition will look like this
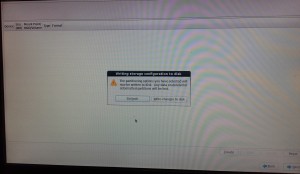
Click write changes to disk to install CentOS
Click on next
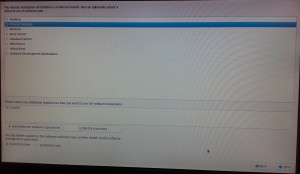
Select minimal Desktop or Desktop (You can also select minimal in case of low disk space)
Done!
Note:
After installation create volume group on lvm partition(physical volume )and give it any name.
For pvcreate use the following command
pvcreate partition name e.g pvcreate /dev/sdb2
Physical volume "/dev/sdb2" successfully created
to check physical volume name rum command “pvdisplay”
Once you create the physical volume, you can create the volume group (VG) from these physical volumes (PV).
vgcreate vg_name pv_name e.g. vgcreate vg_group /dev/sdb2
Volume group "vg_group" successfully created
to check vg created name run command “vgdisplay”
./install.sh [email protected] kernel=kvm lvg=VOLUME_GROUP_NAME

you should give lvg = vg name created by you
Also make sure that visualization should be enabled in BIOS
Enjoy!
